
How to Save and Find a Downloaded Photo
To save a photo from the Course Portal on the iPhone or iPad:
- Click on the download link available in the Files tab below the video:
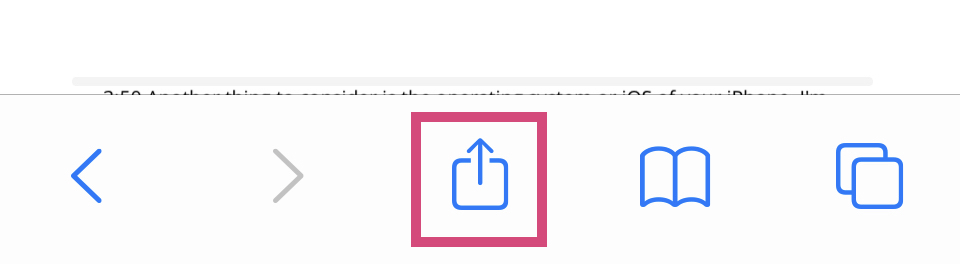
- Tap the Export icon.
- Select Save Image.


To download a photo from the Course Portal on a computer:
- Click on the download link available in the Files tab below the video:
-
The image will open in a new tab where you can right-click and select Download:

- The image will be saved on your Downloads folder.
- To send the photo to your iPhone, you can use the following methods:


If you're unable to locate the photo you downloaded from the Course Portal:
- Open Photos app
- Tap on Albums tab at the bottom toolbar
- Select the Recents folder
In the Library tab, photos are sorted by the date they were taken. In the Recents folder which is inside the Albums tab, photos are sorted according to the date they were added or modified.